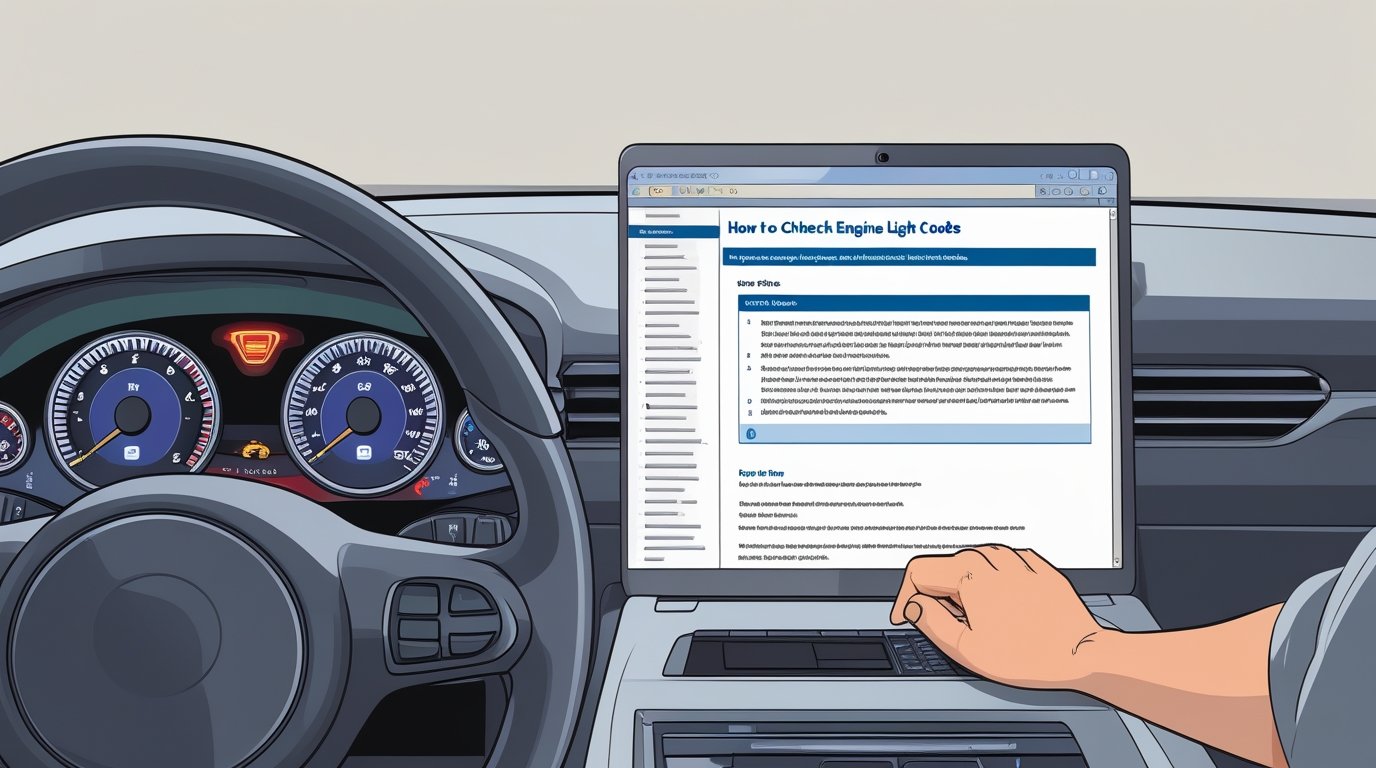
A glowing check engine light is one of the most common concerns for car owners. Whether it’s flashing or steady, it typically signals an issue with your vehicle’s engine, emission system, or other vital components. However, once you’ve had your car repaired, you may wonder how to clear the codes of a check engine light to turn it off.
While it’s always important to address the root cause of the issue, there are steps you can take to reset or clear the codes yourself, potentially saving you time and money at the mechanic. In this article, we’ll guide you through the process of how to clear the codes of a check engine light, explain the importance of diagnostic codes, and offer tips on how to avoid future issues.
Understanding the Check Engine Light and Diagnostic Codes
Before diving into the steps to clear the codes, it’s essential to understand what the check engine light (CEL) means and how it works. The check engine light is part of your car’s onboard diagnostic system (OBD-II), which monitors the performance of your vehicle’s engine and related systems. When an issue is detected, a corresponding trouble code is stored in your vehicle’s engine control module (ECM), triggering the check engine light to illuminate.
These diagnostic codes are numerical codes that correspond to specific issues with your vehicle. Some of these codes are more serious and require immediate attention, while others may be minor or related to routine maintenance. The OBD-II system is a standard for all vehicles manufactured after 1996, making it easier for mechanics to diagnose problems and clear the codes once the issue has been resolved.
Common Reasons for a Check Engine Light
How to Clear the Codes of a Check Engine Light? The check engine light can be triggered by a wide range of issues, from simple to complex. Some of the most common reasons include:
- Loose or Faulty Gas Cap: One of the simplest reasons the check engine light might come on is a loose or damaged gas cap, which can cause fuel vapors to leak and affect the vehicle’s emission system.
- Oxygen Sensor Failure: The oxygen sensor measures the amount of oxygen in the exhaust gases, helping the engine manage fuel efficiency and emissions. A faulty sensor can lead to poor engine performance and increased fuel consumption.
- Mass Airflow Sensor Malfunction: This sensor measures the amount of air entering the engine and helps the engine control module adjust fuel intake. A malfunctioning sensor can cause a rough idle, stalling, or difficulty starting the vehicle.
- Catalytic Converter Issues: A failing catalytic converter can lead to poor engine performance, higher emissions, and potentially expensive repairs.
- Spark Plug Problems: Worn or damaged spark plugs can lead to misfires, reduced engine performance, and fuel efficiency.
While some of these problems require immediate attention, others might not cause significant issues and can be addressed later.
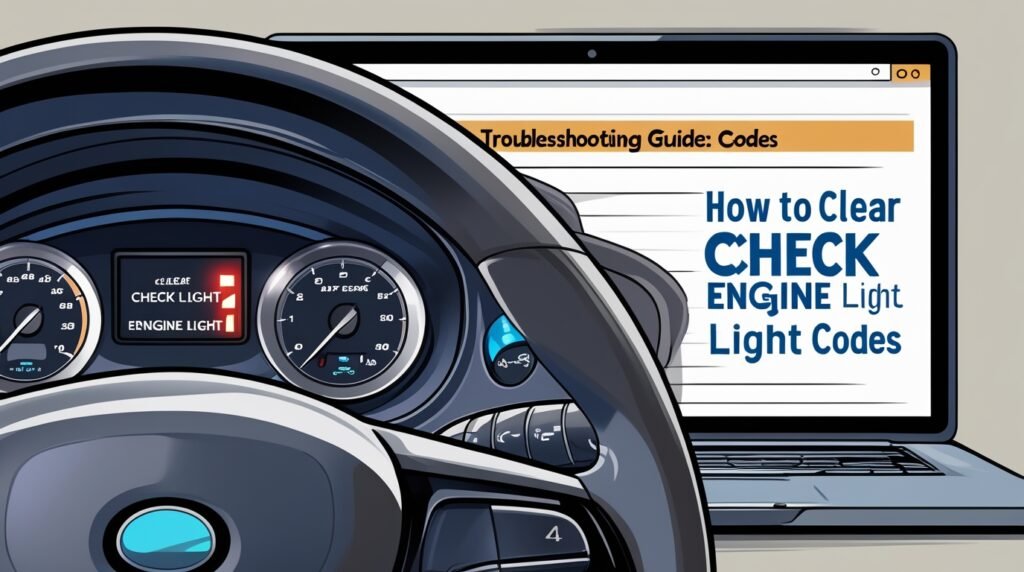
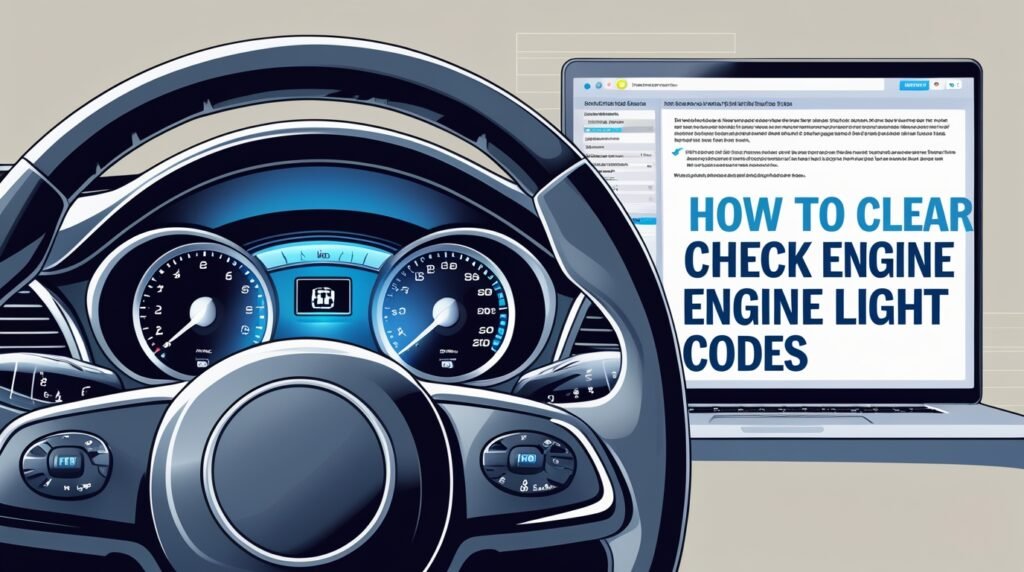
How to Clear the Codes of a Check Engine Light: Step-by-Step Guide
If you’ve already fixed the issue that caused the check engine light to turn on, you’ll likely want to know how to clear the codes of a check engine light stored in your vehicle’s computer system. Here are the most common methods for clearing these codes:
1. Using an OBD-II Scanner
One of the easiest and most reliable ways to clear the codes of a check engine light is by using an OBD-II scanner. These devices are widely available, and they allow you to read and clear diagnostic trouble codes (DTCs) on your vehicle’s ECM. Here’s how you can use an OBD-II scanner to clear the codes:
Step 1: Purchase or Borrow an OBD-II Scanner
How to Clear the Codes of a Check Engine Light? OBD-II scanners are available for purchase online or at your local auto parts store. The device typically plugs into the OBD-II port located under your dashboard, near the driver’s seat.
Step 2: Connect the Scanner to the OBD-II Port
How to Clear the Codes of a Check Engine Light? Locate the OBD-II port under your vehicle’s dashboard, usually near the driver’s side beneath the steering column. Plug the scanner into the port.
Step 3: Turn On the Ignition
This will allow the scanner to communicate with the car’s ECM.
Step 4: Read the Codes
Turn on the OBD-II scanner and follow the on-screen instructions to read the trouble codes stored in the vehicle’s ECM. The scanner will display a list of codes that correspond to the detected issues.
Step 5: Clear the Codes
Once you’ve addressed the problem and repaired it, you can clear the codes. The scanner will usually have an option to “Clear Codes” or “Erase Codes.” Follow the instructions on the scanner to clear the codes of a check engine light, and the check engine light should turn off.
Step 6: Verify the Light is Off
Once you’ve cleared the codes of a check engine light, start your vehicle and check if the check engine light is off. If it remains on, you may need to revisit the issue or use the scanner to check if there are any unresolved codes.
2. Disconnecting the Car Battery
How to Clear the Codes of a Check Engine Light? Another method to clear the codes of a check engine light is by disconnecting the vehicle’s battery. This method works by resetting the vehicle’s electrical systems, including the ECM. Here’s how to do it:
Step 1: Turn Off the Engine
Ensure that the engine is off and the vehicle is parked on a flat surface.
Step 2: Disconnect the Negative Battery Cable
Using a wrench, remove the negative terminal (black) of the car battery. This will cut power to the electrical system and reset the ECM.
Step 3: Wait for 10 to 15 Minutes
Leave the battery disconnected for about 10 to 15 minutes. This will give the vehicle’s systems enough time to reset.
Step 4: Reconnect the Battery
Ensure that the connection is secure.
Step 5: Start the Vehicle
Start the vehicle and check the check engine light. If the problem has been fixed, the light should turn off. However, if the issue is still unresolved, the light may come back on, indicating that the problem persists.
3. Driving the Car to Reset the Light
How to Clear the Codes of a Check Engine Light? In some cases, you can reset the check engine light by simply driving your vehicle. This method works because the ECM may need to complete a series of diagnostic tests to determine whether the problem has been resolved. Here’s how this process works:
Step 1: Address the Issue
Ensure that the problem causing the check engine light has been repaired or fixed. If the issue is something minor, such as a loose gas cap, simply tighten it and ensure it’s securely fastened.
Step 2: Drive for a Few Miles
Once the issue is fixed, drive your car for at least 20 to 30 minutes. This will allow the car’s ECM to run its diagnostics and check if the problem has been resolved.
Step 3: Check the Light
After driving the car, check to see if the check engine light has turned off. In some cases, it may take a few drive cycles for the light to go off completely.
4. Using the “Key Trick” (For Some Vehicles)
How to Clear the Codes of a Check Engine Light? Some older vehicles, particularly those made before the widespread use of OBD-II scanners, may allow you to clear the codes of a check engine light using the “key trick.” This method works by turning the ignition key in a specific sequence to reset the car’s computer. Here’s how it works:
Step 1: Turn the Ignition On
Turn the ignition key to the “On” position, but do not start the engine.
Step 2: Turn the Key Off and On
Turn the ignition key off and on three times in quick succession. After the third turn, leave the ignition in the “On” position.
Step 3: Wait for the Check Engine Light to Blink
If the sequence is successful, the check engine light will blink and then turn off.
Step 4: Start the Engine
Note that this method may not work on all vehicles, and it’s most commonly used for cars manufactured in the early 2000s or before.
Preventing the Check Engine Light from Coming On Again
While clearing the codes is helpful, it’s essential to address the underlying issue to avoid future problems. Here are some tips on how to clear the codes of a check engine light in the future:
- Regular Maintenance: Ensure your vehicle receives regular maintenance, including oil changes, spark plug replacements, and air filter checks. Regular maintenance can help catch potential issues early and prevent the check engine light from triggering.
- Monitor Your Gas Cap: Always make sure your gas cap is properly sealed. A loose or cracked gas cap is one of the most common reasons for the check engine light to turn on.
- Pay Attention to Warning Signs: If your car is showing signs of poor performance, such as rough idling, sluggish acceleration, or increased fuel consumption, get it checked before it triggers the check engine light.
- Address Issues Promptly: If the check engine light comes on, don’t ignore it.
Conclusion on How to Clear the Codes of a Check Engine Light
Knowing how to clear the codes of a check engine light is an essential skill for every car owner. Whether you choose to use an OBD-II scanner, disconnect the battery, or drive the car to reset the light, it’s important to remember that clearing the codes should only be done after the underlying issue has been addressed. While clearing the codes can temporarily turn off the check engine light, it’s crucial to ensure that your vehicle’s engine and systems are functioning properly. Regular maintenance and timely repairs will help keep your vehicle running smoothly and prevent the check engine light from returning.
FAQs on How to Clear the Codes of a Check Engine Light
Q: How often should I clear the codes of a check engine light?
Only clear the codes of a check engine light after you’ve fixed the problem that caused the light to come on. Clearing the codes without addressing the issue may lead to further damage.
Q: Can I clear the check engine light without a scanner?
Yes, you can clear the codes of a check engine light by disconnecting the battery or using the “key trick” on some older vehicles. However, using an OBD-II scanner is the most reliable method.
Q: Will clearing the codes of a check engine light fix the problem?
No, clearing the codes of a check engine light only turns off the light. You must fix the underlying issue for the light to stay off.