Understanding how to read a tape measure is an essential skill for anyone involved in construction, home improvement, crafting, or even basic DIY tasks. Whether you’re a seasoned professional or a beginner, being able to accurately measure distances and dimensions is crucial. How to read a tape measure may seem straightforward at first glance, but there are nuances that can confuse new users.
In this article, we’ll break down the different components of a tape measure, explain how to use it effectively, and provide tips to improve your accuracy. Whether you’re measuring for a new piece of furniture, working on a home project, or ensuring the precision of your craftwork, knowing how to read a tape measure will save you time and prevent costly mistakes.
What Is a Tape Measure?
Typically made of metal or fiberglass, tape measures are designed to be easily portable and accurate. Tape measures come in various lengths, with the most common being 12 feet, 25 feet, or 30 feet. The tape itself is printed with measurements, often in both imperial (inches and feet) and metric (centimeters and meters) units. How to read a tape measure depends on whether you’re using the imperial system, the metric system, or both, as well as how the tape is marked.
Components of a Tape Measure
To effectively learn how to read a tape measure, it’s important to understand the key components and markings you’ll find on the tape itself. A typical tape measure consists of several parts that allow you to measure lengths accurately.
1. The Blade
The blade is the actual tape that extends out of the casing. It is usually marked with numbers and lines to indicate measurements. The numbers represent feet, inches, centimeters, or millimeters, depending on the system used. On many tape measures, you’ll see markings in both inches and centimeters, allowing you to measure using either system.
2. The Hook
At the end of the tape measure, there’s a small hook that attaches to the edge of the object being measured. It is often designed with a slight amount of movement to ensure that it accommodates both internal and external measurements. The hook is important for ensuring the tape measure is properly aligned when measuring.
3. The Casing
It houses the rolled-up tape and usually has a locking mechanism to hold the tape in place. The casing also often includes a belt clip, making it easy to carry while working.
4. The Locking Mechanism
Most modern tape measures come with a locking mechanism that allows you to lock the tape in place once it’s extended. This feature is important because it prevents the tape from retracting while you’re taking measurements. The lock is usually engaged by pressing a button on the side of the casing.
5. The Scale
The scale refers to the markings on the tape that represent measurements. A typical tape measure will have two scales: one for inches and one for centimeters. Depending on your preference or project requirements, you may choose to use one over the other.
How to Read a Tape Measure: The Basics
Understanding how to read a tape measure can be broken down into a few essential steps. Here’s a quick overview of the process:
- Identify the Unit of Measurement: Determine whether the tape measure is marked in inches and feet, centimeters and meters, or both. The most common system in the United States is the imperial system (inches and feet), but in other countries, the metric system (centimeters and meters) is more commonly used.
- Understand the Markings on the Tape: Tape measures are usually marked with several types of lines. These lines represent fractions of an inch or centimeters, depending on the system used.
- Measure the Length: Extend the tape measure along the surface you wish to measure. Ensure the tape is straight and taut, as this will improve accuracy.
- Read the Measurement: Look at where the tape intersects with the object you’re measuring. The number corresponding to the measurement will indicate the length.
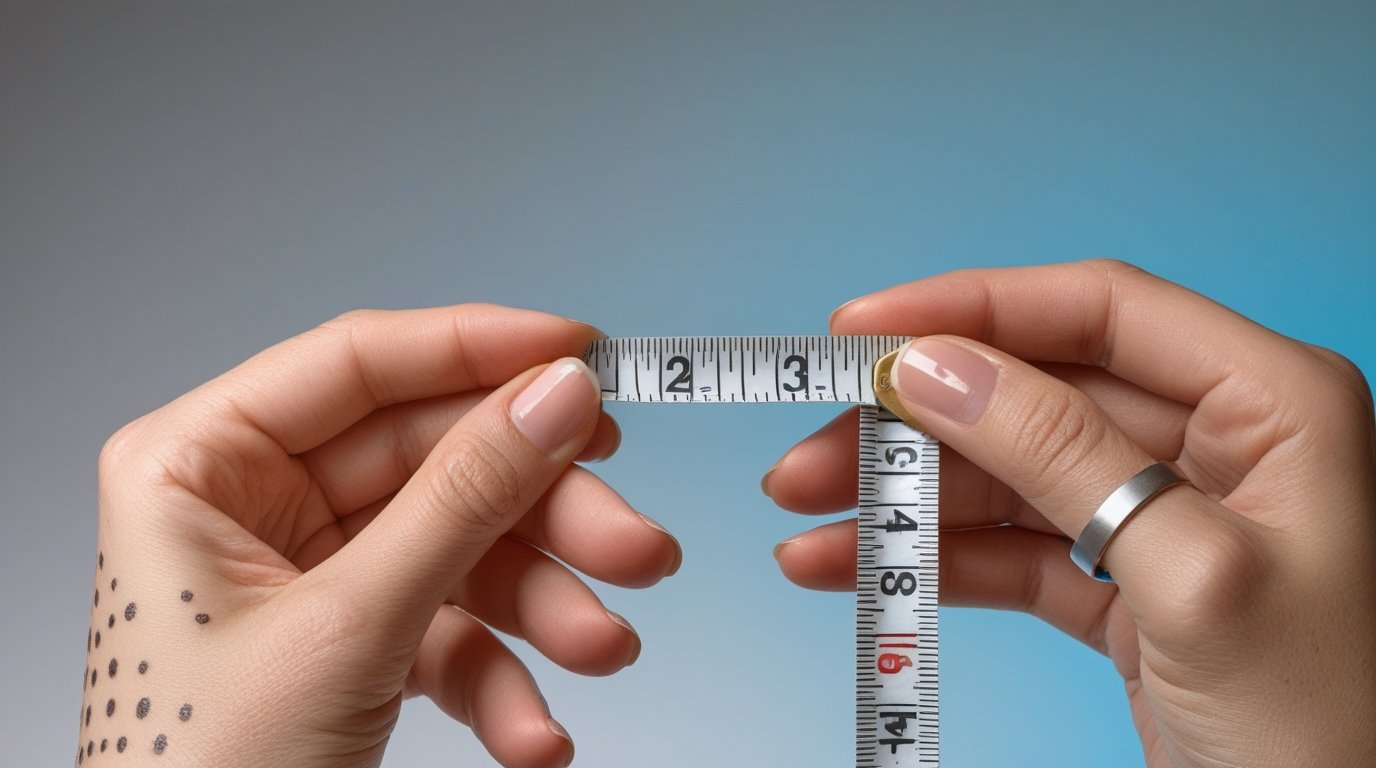
How to Read a Tape Measure in Inches
If you’re working with an imperial tape measure (inches and feet), you’ll need to understand the different markings that represent fractions of an inch. Here’s how to read it:
- Whole Inches: The longest numbers on the tape measure are whole inches. They are typically marked with bold numbers (1, 2, 3, etc.).
- Half Inches: The shorter lines between whole numbers represent half-inch increments. For example, between 1 and 2 inches, the line halfway is at the 1.5-inch mark.
- Quarter Inches: The next set of lines represent quarter-inch increments. For example, between 1 and 2 inches, there will be additional lines at the 1.25-inch (1 and 1/4 inches) and 1.75-inch (1 and 3/4 inches) marks.
- Eighth Inches: In some cases, you may see lines that are even smaller, representing eighth-inch increments. These lines are typically thinner and appear between the quarter-inch lines.
- Sixteenth Inches: The smallest markings on the tape measure represent sixteenth-inch increments. These lines are usually very close together and may require more precision to read correctly.
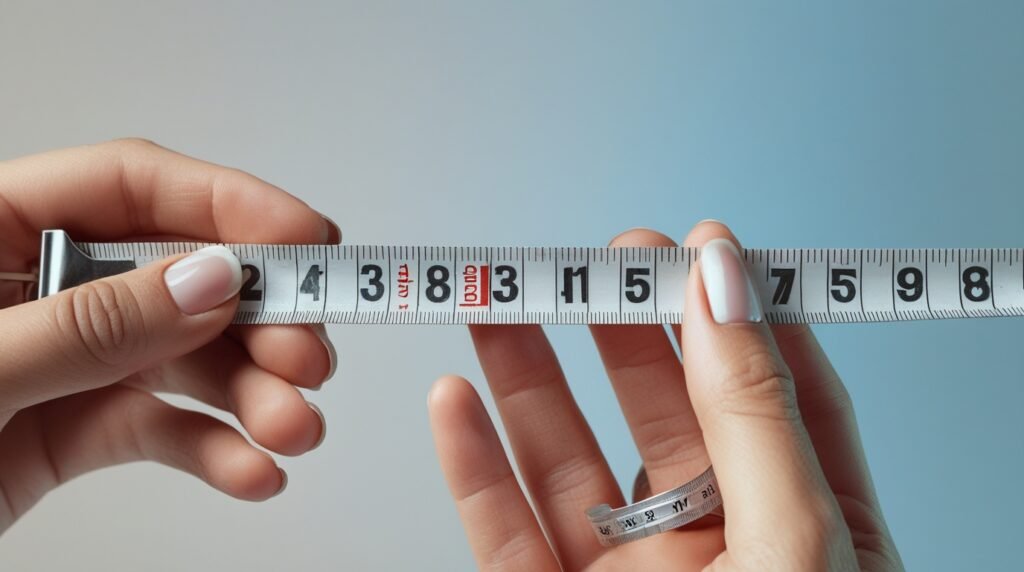
How to Read a Tape Measure in Centimeters
For those using the metric system, understanding how to read a tape measure in centimeters is also straightforward, but the divisions are slightly different. Metric tape measures typically show centimeters (cm) and millimeters (mm).
- Centimeters: The longer, bold numbers on the tape measure represent whole centimeters. For example, 1, 2, 3, etc., mark full centimeters.
- Millimeters: Between each centimeter, you’ll find ten smaller lines, which represent millimeters. The first line is 1 mm, the second is 2 mm, and so on, until you reach the 10 mm mark, which equals 1 cm.
Practical Examples: How to Read a Tape Measure
Now that you understand the components and markings, let’s walk through a few practical examples to explain how to read a tape measure in real-life situations.
Example 1: Measuring a Piece of Wood (Inches)
Suppose you’re measuring a piece of wood and the measurement falls between 3 inches and 4 inches. Upon looking at the tape, you see that the line is slightly past the 3-inch mark, about halfway to the 4-inch mark. This indicates a measurement of 3.5 inches, or 3 and a half inches.
Example 2: Measuring in Centimeters
Let’s say you’re measuring a piece of fabric and the measurement is 15.7 cm. Looking at the tape, you’ll find the 15 cm mark and notice that the next line after it represents the 7 mm mark. So, the total measurement is 15.7 cm.
Tips for Accurate Measurements
While learning how to read a tape measure is essential, accuracy is also important when taking measurements.
- Use a Straight Edge: Always make sure that the tape measure is pulled straight and taut when measuring. A crooked or loose tape can result in inaccurate readings.
- Double-Check Your Measurement: If you’re unsure about the measurement, take it again. It’s better to measure twice and cut once, especially when working on projects that require precision.
- Mark the Tape: If you’re measuring for a cutting task, consider marking the measurement with a pencil or chalk to ensure you make the correct cut.
- Understand the Different Measurement Types: For more complex measurements (such as measuring the inside of a corner or a non-flat surface), you may need a flexible tape or a specialized measuring tool.
Common Mistakes When Using a Tape Measure
Even with a basic understanding of how to read a tape measure, mistakes can happen. Here are some common errors to watch out for:
- Not Using the Hook Correctly: Some people forget to account for the hook at the end of the tape measure, which may move slightly. Ensure the hook is fully engaged at the edge of the object being measured to avoid errors.
- Misreading Fractions: Especially for eighths and sixteenths of an inch, misreading the smaller lines is a common mistake. Always count the number of lines carefully.
- Not Keeping the Tape Level: If the tape is tilted or angled, the measurement may be off. Always keep the tape level and parallel to the surface you’re measuring.
Conclusion
Knowing how to read a tape measure is a vital skill for anyone involved in measuring tasks, whether for home improvement, construction, or crafts. By understanding the various components, markings, and steps for reading a tape, you can improve your accuracy and efficiency. Whether you’re working in inches or centimeters, following the tips and techniques outlined in this article will help you measure with confidence. Remember, practice makes perfect, so the more you use a tape measure, the more comfortable and precise you’ll become. With these skills, you’ll be able to handle any measurement task with ease and accuracy.
FAQs
Why are there different lines on a tape measure?
The different lines on a tape measure represent fractions of an inch or centimeters. The longest lines are for whole numbers, while the shorter lines represent fractions of the unit, such as halves, quarters, eighths, and sixteenths.
How do I read a tape measure with both imperial and metric measurements?
Some tape measures include both imperial (inches and feet) and metric (centimeters and millimeters) measurements. The tape will have two sets of markings, and you simply choose which system you prefer to use, based on the task at hand.
How do I measure something over 25 feet with a tape measure?
If you need to measure something longer than your tape measure’s length, use the method of marking and measuring. First, measure a portion of the object, then retract the tape and mark the measurement. Continue this process until you have the full length.
Can I use a tape measure for both interior and exterior measurements?
Yes, you can use a tape measure for both internal and external measurements. The hook at the end of the tape is adjustable for inside and outside measurements, making it versatile for different types of projects.